Learn how to change the default RDP port to enhance security and reduce exposure to attacks. Understand the limitations and necessary precautions.
When you use Remote Desktop Protocol (RDP) on Windows, it defaults to port 3389. While this setup works, it can make your system a target for automated attacks. Changing the default RDP port is a simple way to reduce exposure, but it’s not a standalone security solution. Here’s what you need to know:
Why Change the Port?
Port 3389 is commonly scanned by attackers.
Using a custom port can reduce automated attacks but doesn’t prevent determined hackers.
What You’ll Need:
Administrator access to the system.
Basic understanding of the Windows Registry and firewall settings.
Always combine this change with stronger measures like VPNs, multi-factor authentication (MFA), and firewalls.
Never expose RDP directly to the internet.
Changing the port can help reduce casual scanning but doesn’t provide real security. For better protection, consider using VPNs or secure virtual desktop solutions like flexidesktop, which eliminates the need for direct RDP exposure.
Before diving into the technical process of changing your RDP port, it’s important to understand what this change does – and what it doesn’t. Changing the port might reduce some exposure, but it doesn’t offer real protection. Many administrators mistakenly view it as a security measure, which can lead to a false sense of safety.
Why Changing RDP Ports Has Its Limits
Let’s be clear: changing the port doesn’t make your system secure. Switching from the default port 3389 to something like 5555 or 8080 might cut down on automated scanning attempts, but it won’t deter skilled attackers. Tools like Nmap can scan massive port ranges in seconds, making it easy for attackers to find RDP services, no matter which port they’re on.
This is like hiding a key under a different rock – determined attackers will still find it. Comprehensive scanning techniques allow hackers to pinpoint any port running RDP, not just the default one.
The bigger issue lies in the design of RDP itself. It was originally built for trusted internal networks, not for exposure to the public internet. By exposing RDP online, you’re essentially putting a Windows login screen out there for anyone to target.
Brute force attacks don’t care about port numbers. If attackers can reach your RDP service, they can still try to guess passwords, exploit protocol vulnerabilities, or use credential stuffing with stolen login details. This is why stronger measures, like VPNs and MFA, are so critical.
How to Secure Remote Desktop Access
The most effective way to secure RDP is to avoid exposing it directly to the internet. Instead, use a VPN to create an encrypted, authenticated tunnel for remote access. This ensures that only authorized users can even attempt to connect.
Other essential steps include:
Network segmentation: Place RDP systems behind firewalls and allow access only from specific IP addresses or network ranges. If remote access is necessary, whitelist only the addresses that truly need access.
Network Level Authentication (NLA): Enabling NLA ensures that users must authenticate before establishing an RDP session. This prevents attackers from even reaching the login screen, significantly reducing risk.
Account lockout policies: Limit brute force attempts by temporarily locking accounts after multiple failed login tries. Be cautious, though – overly strict policies can allow attackers to lock out legitimate users as a form of denial-of-service.
These measures go a long way toward securing RDP access, but changing the port can still introduce practical challenges.
Common Problems and Troubleshooting
While changing the RDP port might seem like a simple tweak, it often leads to unexpected complications:
Broken automation: Scripts and monitoring tools that rely on the default port will stop working unless updated. Backup systems, remote monitoring software, and deployment tools all need to reflect the new port configuration.
Firewall headaches: Custom ports require updates to firewall rules across all layers – local, network, and cloud. Missing a single rule can block access entirely, creating unnecessary downtime.
Documentation and communication: Switching from port 3389 to something like 7899 means every team member must know the new configuration. Keeping this information securely documented and updated adds extra administrative work.
Registry risks: Changing the RDP port involves modifying the Windows Registry, which comes with its own dangers. A single mistake during this process could corrupt the registry, potentially locking you out of the system. Always back up the registry before making changes, especially on remote systems where physical recovery isn’t an option.
Troubleshooting complexity: Standard network tools and documentation assume port 3389. When issues occur, you’ll need to include the custom port in every diagnostic command, which can slow down problem-solving and increase the chances of errors.
Managing custom RDP ports across multiple systems can quickly become a logistical challenge, especially in larger environments. Each system needs individual configuration and monitoring, multiplying the workload and the risk of mistakes. Balancing these operational hurdles with security needs is key to maintaining a reliable and secure setup.
Ways to Change the RDP Port
There are three main ways to change your RDP port: editing the Windows registry, updating firewall rules, or using PowerShell. Each method involves adjusting system settings and network configurations to accommodate the new port.
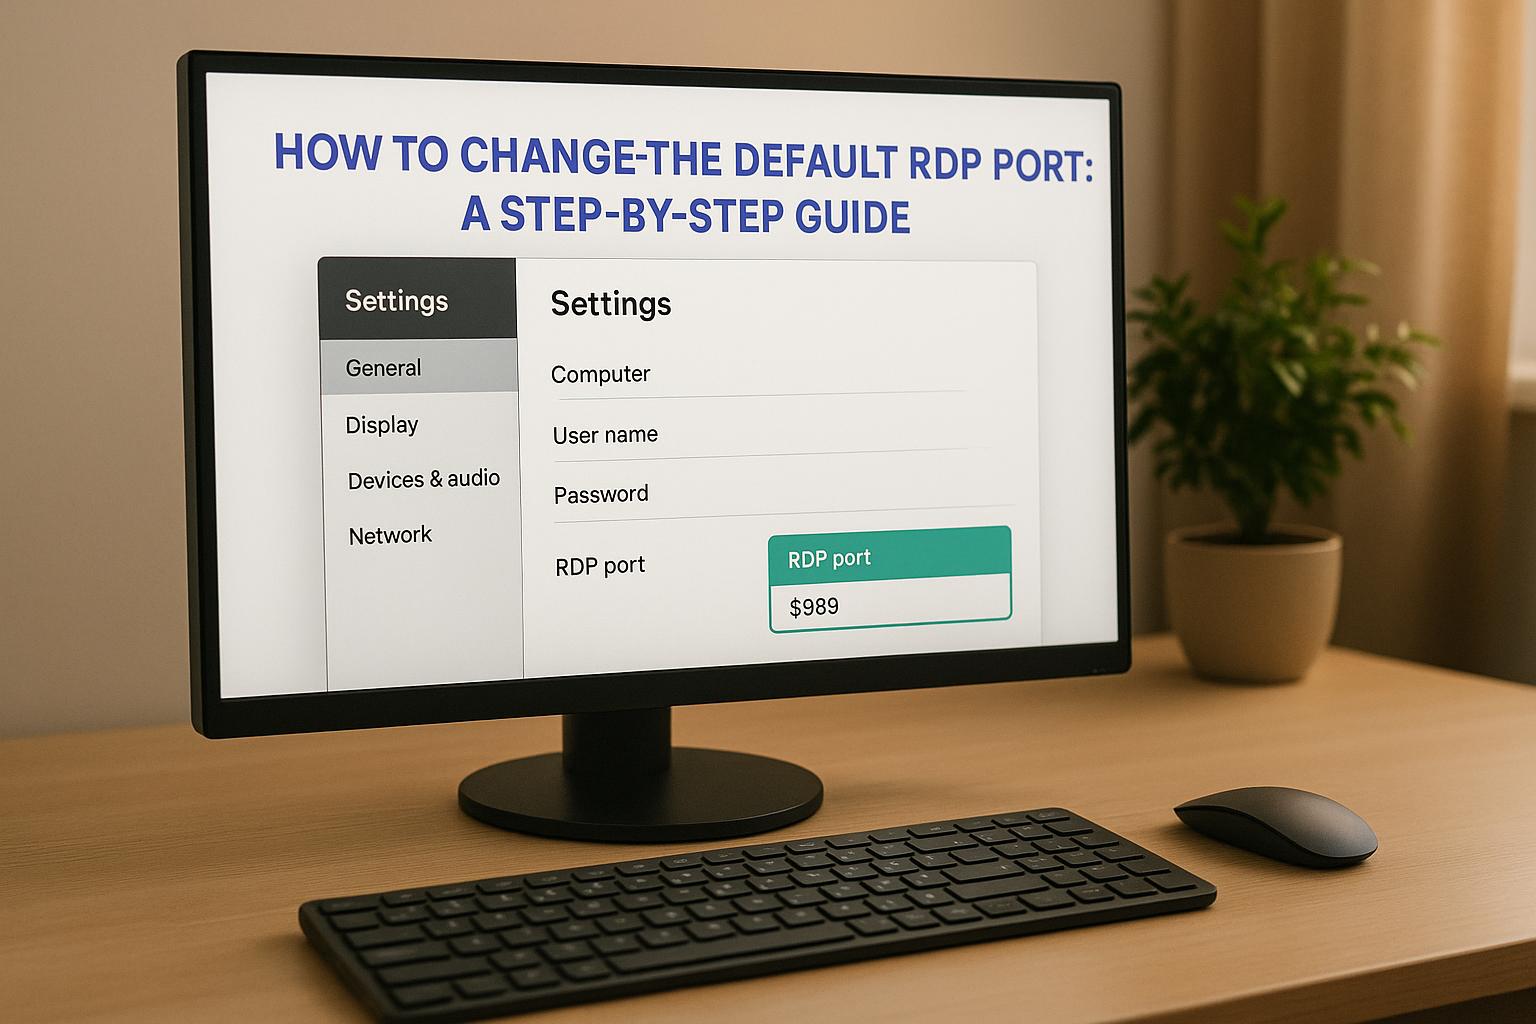
The Windows Registry Editor is the go-to method for changing the RDP port. This approach directly modifies the system’s configuration, where the RDP port is defined. Since you’re working with critical system settings, administrator privileges are required, and accuracy is key to avoid causing system issues.
The RDP port setting is located in the registry path: HKEY_LOCAL_MACHINE\SYSTEM\CurrentControlSet\Control\Terminal Server\WinStations\RDP-Tcp.
Within this key, look for the PortNumber entry, which is stored in hexadecimal format. By default, the value is 0x00000d3d, corresponding to decimal 3389. To minimize conflicts with other services, choose a port in the range 49152–65535, such as 53389, 33389, or 13389.
Important: Always create a registry backup before making changes. A corrupted registry can make your system unbootable, especially if you’re working on a remote machine. Backing up ensures you have a restore point in case something goes wrong.
Once the registry is updated, don’t forget to adjust your firewall rules to allow traffic through the new port.
Changing the registry alone won’t do the trick – you’ll need to update your firewall settings to allow connections on the new port. By default, Windows Firewall blocks most incoming connections, so you’ll have to create a new rule for your custom RDP port and remove or disable the old rule for port 3389.
To configure the firewall, create an inbound rule for TCP traffic on your selected port. This can be done using the Windows Firewall with Advanced Security console, which gives you detailed control over connection rules. Be sure to:
Specify the exact port number.
Allow connections only from trusted IP addresses.
Apply the rule to the appropriate network profiles (Domain, Private, or Public).
Additionally, if your network uses routers or cloud-based security groups, update those settings to reflect the new port.
Before disabling the old rule for port 3389, test the new connection thoroughly to ensure everything works as expected. This step is crucial to avoid locking yourself out of remote systems. Once confirmed, you can safely remove the default RDP rule to reduce potential security risks.
For admins who prefer automation, PowerShell provides an efficient alternative. This method is particularly useful for managing multiple systems or incorporating the change into deployment scripts. With PowerShell, you can handle both registry modifications and firewall updates in one streamlined process.
To update the registry, use the Set-ItemProperty cmdlet, which allows you to directly set the new port value in decimal format – no need for manual hexadecimal conversions.
For firewall configuration, PowerShell offers the New-NetFirewallRule and Remove-NetFirewallRule cmdlets. These commands let you create a new inbound rule for the custom port and remove the old rule in a single script. You can also include error handling and validation checks to ensure each step completes successfully.
PowerShell excels when managing multiple servers. Using Invoke-Command, you can deploy the changes across systems and verify their success remotely. This approach reduces manual errors and ensures consistent settings across your infrastructure.
For added functionality, PowerShell scripts can include features like parameterized port selection, logging, and rollback options. However, this method requires familiarity with PowerShell and careful testing before applying it in a live environment.
sbb-itb-bea6502
Step-by-Step Guide: How to Change the RDP Port
If you’re ready to change your RDP port using the Registry Editor, this step-by-step guide will walk you through the process. Adjusting the RDP port can enhance security and reduce the risk of unauthorized access, but it’s essential to proceed carefully.
Step 1: Back Up the Registry
Before making any changes, back up your registry to ensure you can restore it if something goes wrong. Here’s how:
Open the Registry Editor by typing regedit in the Windows search bar and pressing Enter.
Once inside, click File > Export.
Choose a secure location to save the backup file (e.g., "Registry_Backup_Before_RDP_Change").
Select All under the Export range and click Save.
This creates a .reg file that you can use to restore your registry if needed. With the backup complete, you’re ready to move to the next step.
Step 2: Edit the RDP Port in the Registry
Now, it’s time to change the RDP port setting:
Navigate to the following location in the Registry Editor: HKEY_LOCAL_MACHINE\SYSTEM\CurrentControlSet\Control\Terminal Server\WinStations\RDP-Tcp
In the right-hand pane, find the PortNumber entry. This value is stored in hexadecimal format, with the default being 0x00000d3d (which equals decimal 3389).
Double-click PortNumber to open the editing dialog.
Change the Base setting to Decimal, then enter your new port number. Choose a port number between 49152 and 65535 to avoid conflicts with other services. For instance, you might use 53389, 33389, or 13389.
Click OK to save the changes, then close the Registry Editor.
For the changes to take effect, restart your computer. Once it’s back up, you’ll need to adjust your firewall settings.
Step 3: Configure the Firewall and Test the Connection
After restarting, update your Windows Firewall to allow traffic on the new port:
Open Windows Firewall with Advanced Security.
In the left pane, click Inbound Rules, then select New Rule from the right pane.
Choose Port as the rule type and select TCP as the protocol.
Enter your custom port number in the Specific local ports field.
For the action, select Allow the connection and apply the rule to all network profiles (Domain, Private, and Public), unless you have specific security requirements.
Give your rule a descriptive name, such as "Custom RDP Port 53389", and save it.
Now, test the new connection. Use Remote Desktop Connection on another computer within the same network. Enter the target computer’s IP address followed by a colon and the new port number (e.g., 192.168.1.100:53389). If everything is set up correctly, you should be able to connect without any issues. Once confirmed, you can safely disable or delete the original rule for port 3389.
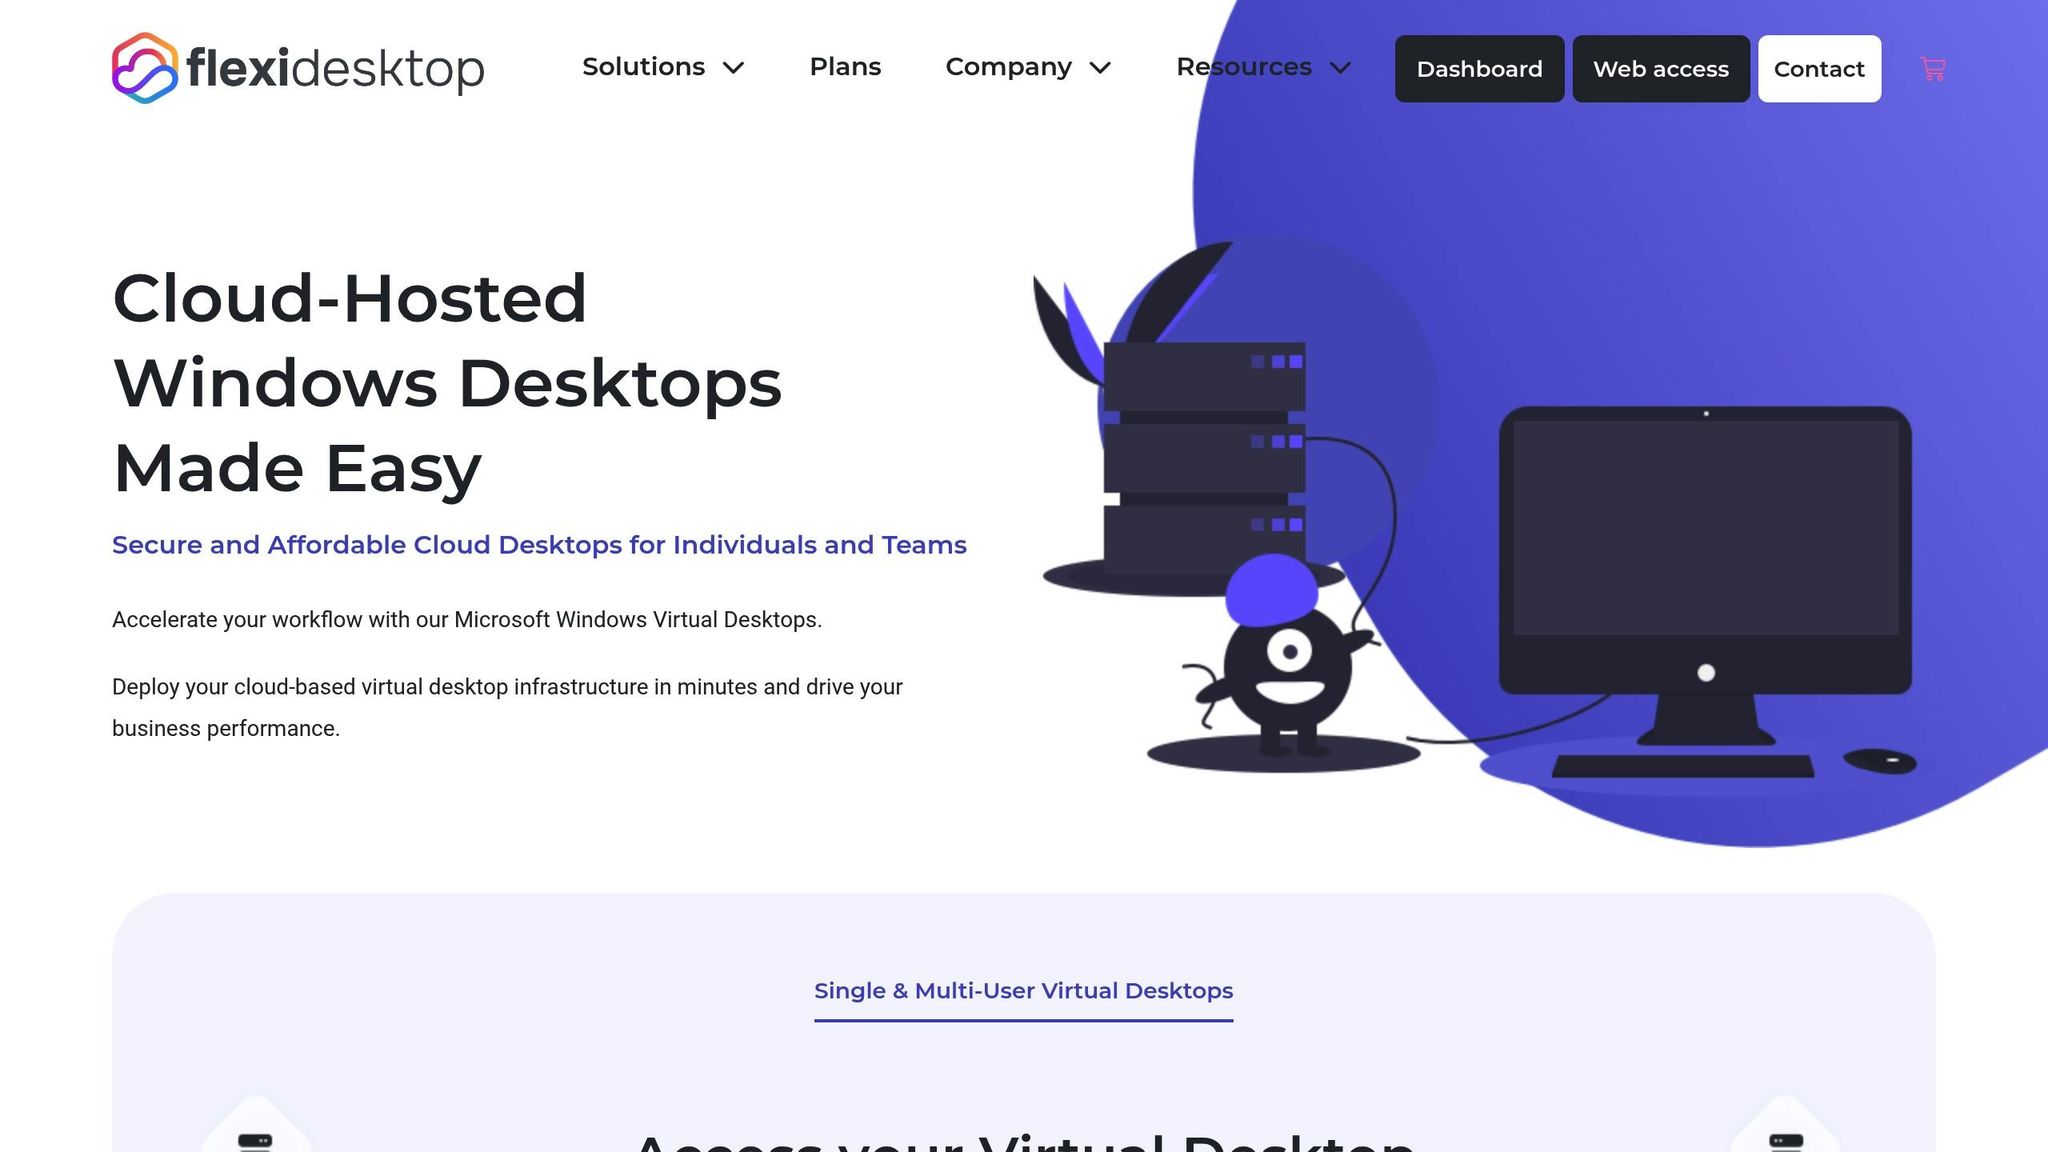
Secure Virtual Desktop Solutions with flexidesktop
Changing RDP ports might seem like an easy security fix, but it barely scratches the surface. The real solution? Avoiding direct RDP exposure altogether. That’s where flexidesktop comes in. This cloud-hosted Windows Virtual Desktop platform tackles the big security issues tied to traditional remote desktop setups. Let’s dive into how flexidesktop’s features and flexible plans provide a solid, secure way to access your desktop remotely.
Security Features for Desktop Access
flexidesktop doesn’t rely on superficial tweaks like port changes – it takes security seriously with a multi-layered approach. The platform enables access to virtual desktops directly through a web browser, eliminating the need for direct RDP forwarding [1][2]. This means you can steer clear of exposing port 3389 to the internet while still enjoying full desktop functionality.
For those who need advanced features like connecting USB drives, local printing, or webcam integration, flexidesktop offers optional VPN integration. This feature uses WireGuard to create an encrypted, point-to-point tunnel, ensuring RDP connections stay secure without being exposed online. This aligns perfectly with VPN-first security practices, adding another layer of defense.
Each flexidesktop desktop operates within an isolated private network [2], shielding it from external threats. On top of that, the platform employs robust firewalls and end-to-end encryption to keep your data safe. And speaking of data safety, secure daily backups are included, so your files are always protected and recoverable – an essential safeguard compared to traditional on-premises setups.
flexidesktop Plans and Pricing
flexidesktop offers a range of plans designed to fit different business needs and budgets. Every plan comes with Windows 10 or 11, and you can add Microsoft Office 2024 Pro Plus for just $5.00 more per month. Whether you’re a small startup or a large enterprise, there’s a plan for you.
Plan
Monthly Price
CPU
RAM
Storage
Key Features
flexidesktop XS
$19.00
1 vCPU
2GB
40GB SSD
Basic testing, web access
flexidesktop S
$29.00
2 vCPU
4GB
40GB SSD
Optional GPU (Europe), VPN access
flexidesktop M
$39.00
3 vCPU
8GB
80GB SSD
Enhanced performance, optional GPU
flexidesktop L
$59.00
4 vCPU
16GB
80GB SSD
Heavy workloads, dedicated resources
flexidesktop XL
$109.00
8 vCPU
24GB
120GB SSD
Maximum performance, enterprise-grade
All plans include full administrator control, access to global data centers, and responsive technical support. This structure makes it easy for businesses to scale their virtual desktop needs without the headaches of managing physical hardware or complex security setups.
How flexidesktop Makes Security Simple
Traditional RDP setups often require constant vigilance – managing firewalls, updating security patches, and monitoring for threats. flexidesktop eliminates these hassles by taking care of security at the infrastructure level.
The platform’s primary access method uses standard HTTPS connections, so there’s no need for complicated firewall configurations [1]. For those requiring secure RDP access, the integrated VPN ensures a safe and encrypted connection. This hands-off approach means you don’t have to worry about changing default ports, tweaking firewall rules, or watching for unauthorized access attempts.
Additionally, flexidesktop’s private network architecture ensures that even if one virtual desktop runs into trouble, the others remain unaffected [2]. This level of isolation is hard to achieve with traditional on-premises setups, making flexidesktop a smart choice for businesses that handle sensitive data or need dependable remote access.
Summary and Security Recommendations
Changing the default RDP port is a straightforward process, but its impact on security is quite limited. It involves editing the registry, updating firewall settings, and testing the changes. However, as the Information Security Office at UC Berkeley explains:
"Although this approach is helpful, it is security by obscurity, which is not the most reliable security approach. You should ensure that you are also using other methods to tighten down access as described in this article." [3]
This highlights the importance of implementing multiple layers of defense rather than relying on a single measure.
Main Points to Remember
Registry Edits Are Just the Beginning: Changing the PortNumber in the registry is only part of the process. You must also update your Windows Firewall settings to allow traffic on the newly assigned port. Skipping this step leaves your system vulnerable.
Layered Security Is Crucial: Strong passwords, two-factor authentication (2FA), Network Level Authentication (NLA), and account lockout policies provide a much stronger defense. Regularly updating your RDP software with the latest security patches and limiting access to specific IP addresses further enhances protection.
Avoid Public RDP Exposure: Never leave RDP exposed to the internet on public networks. Instead, use secure alternatives like RDP Gateways, VPN tunneling with IPSec or SSH, or specialized platforms designed to eliminate direct RDP exposure.
Choose Secure Solutions for Business Use
For businesses, professional virtual desktop platforms can offer a more secure and efficient alternative to traditional RDP setups. A platform like flexidesktop simplifies remote desktop security by providing browser-based access combined with optional WireGuard VPN integration. This eliminates the need for manual registry edits, firewall adjustments, and ongoing security management. With features like enterprise-grade security, isolated private networks, and automated backups, flexidesktop removes the complexity of managing physical hardware or intricate configurations. By eliminating direct RDP exposure and automating critical security tasks, it provides a safer and more streamlined solution for remote work.
FAQs
Why isn’t changing the default RDP port enough to secure Remote Desktop access?
Changing the default RDP port (3389) might cut down on automated scans, but it’s not a foolproof solution. Skilled attackers can scan all ports to locate RDP services, which means this approach falls short against targeted attacks.
Relying on a port change alone can also lead to a false sense of security. To truly protect your system, combine this with stronger security practices like using a VPN, enabling multi-factor authentication (MFA), and keeping an eye on network activity. These steps offer a much stronger line of defense for safeguarding Remote Desktop access.
What challenges and risks should I consider before changing the default RDP port?
Changing the default Remote Desktop Protocol (RDP) port can help lower the risk of automated scans and brute-force attacks. However, this tweak isn’t without its challenges. If not handled correctly, misconfigurations could disrupt your ability to connect remotely. Plus, if you don’t update firewalls and security policies to reflect the new port, the change won’t achieve its intended purpose.
That said, switching the RDP port should never replace other security measures. Always use a VPN when accessing RDP over public networks, set strong passwords, and keep your system updated to stay ahead of potential threats. Relying on port changes alone can be misleading and may give a false sense of security.
Why is using a secure virtual desktop solution like flexidesktop better for security than just changing the RDP port?
Changing the default RDP port might seem like a quick fix, but it does little to tackle the real risks tied to remote desktop access. A smarter and more secure option is using a virtual desktop solution like flexidesktop, which centralizes data on secure servers. This setup minimizes potential vulnerabilities and makes managing security much easier.
With flexidesktop, all connections are encrypted, and tools like multi-factor authentication ensure that only authorized users can access your systems. This method offers a far stronger defense against threats compared to simply tweaking network ports, which still leaves systems exposed to sophisticated attacks.
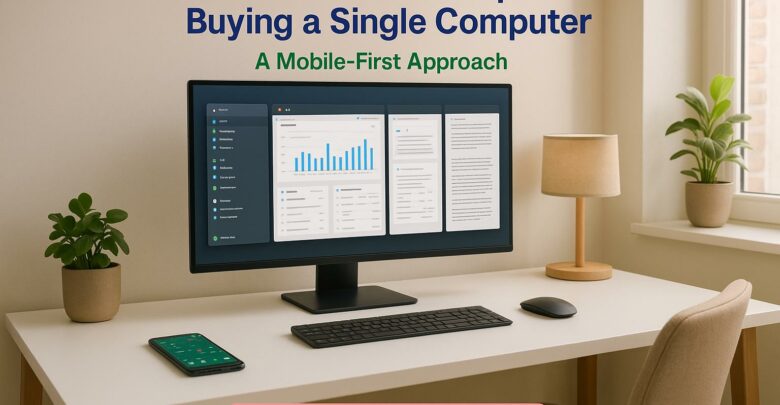
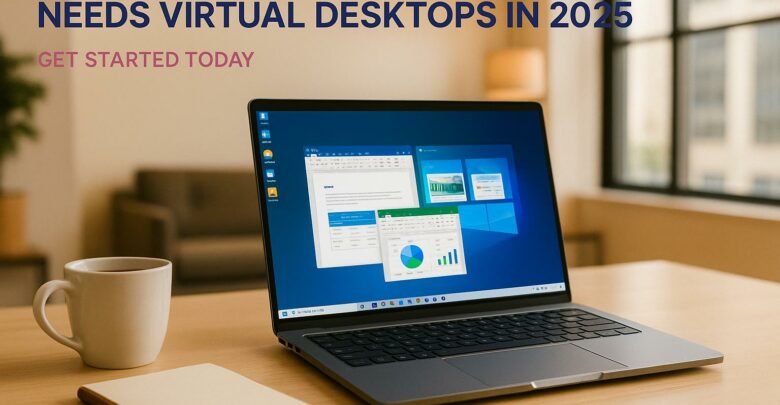
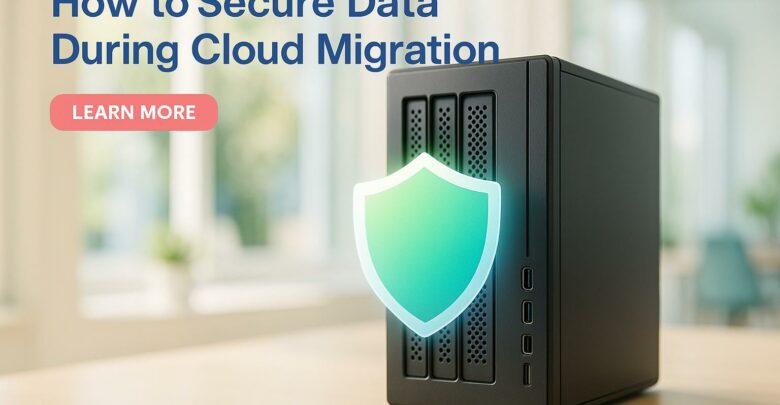
Explore how GPU-accelerated virtual desktops are revolutionizing architecture firms by enhancing collaboration, reducing costs, and improving rendering efficiency.
Explore the differences between on-premises and hybrid VDI, examining their costs, scalability, and security to find the best fit for your business needs.
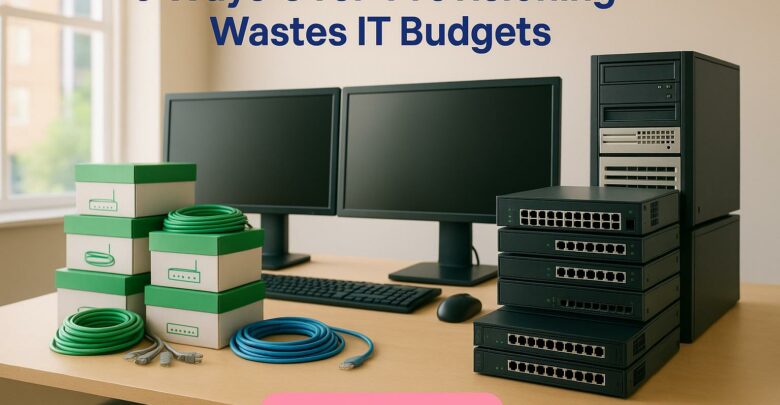
Over-provisioning can waste up to 32% of IT budgets, leading to inefficiencies and lost opportunities. Learn strategies to optimize resource allocation.
To provide the best experiences, we use technologies like cookies to store and/or access device information. Consenting to these technologies will allow us to process data such as browsing behavior or unique IDs on this site. Not consenting or withdrawing consent, may adversely affect certain features and functions.
Functional
Always active
The technical storage or access is strictly necessary for the legitimate purpose of enabling the use of a specific service explicitly requested by the subscriber or user, or for the sole purpose of carrying out the transmission of a communication over an electronic communications network.
Preferences
The technical storage or access is necessary for the legitimate purpose of storing preferences that are not requested by the subscriber or user.
Statistics
The technical storage or access that is used exclusively for statistical purposes.The technical storage or access that is used exclusively for anonymous statistical purposes. Without a subpoena, voluntary compliance on the part of your Internet Service Provider, or additional records from a third party, information stored or retrieved for this purpose alone cannot usually be used to identify you.
Marketing
The technical storage or access is required to create user profiles to send advertising, or to track the user on a website or across several websites for similar marketing purposes.